French
  English
 German
 Japanese
 Korean
 Vietnamese
 Spanish
 भारत
भारत
frIndustrial News
Step - by - Step Guide for quick installation the Installation of the Head of an omni - directional Driving Recorder camera is crucial for Achieving optimal Recording and Capturing the accurate View of All surroundings. Following the correct installation process ensures that the camera Functions as intended, provideing Clear and Comprehensive footage (suivre les processus d'installation corrects qui encadrent les fonctions de caméra en tant qu'intensive, provideing CLEAR et Comprehensive footage). This guide will walk you through the Step - by - step process of installing the Head of the omni - directional Driving Recorder Camera (en anglais seulement).
Choisissez la position parfaite pour placer la tête de la caméra est de l'importance maximale. Il doit être stratégiquement mounted to provide a Panoramic view of the surroundings. Identify an area on the Windshield or dashboard that offers an unobstructed View (identifier une zone sur le vent ou le tableau de bord qui offre une vue non organisée). Prendre une décision concernant toutes les restrictions légales ou les meilleures pratiques recommandées par le fabricant.
Prepare the Surface ensure that chosen surface is clean and dry before Installing la tête de caméra. Use an Alcohol Wipe or a mild Cleaner to remove any Dust, Dirt, or Residues (utiliser un autre Wipe ou un Mild Cleaner pour supprimer tout ce qui est dur, Dirt, ou reste). This will help secure the Adhesive Mount better, reducing the Changes of the camera Head becoming Loose during vibrations or while driving (il aidera à sécuriser la montagne adhésive meilleure, réduire les chances de la tête de la caméra à regarder les vibrations durables ou pourquoi conduire).
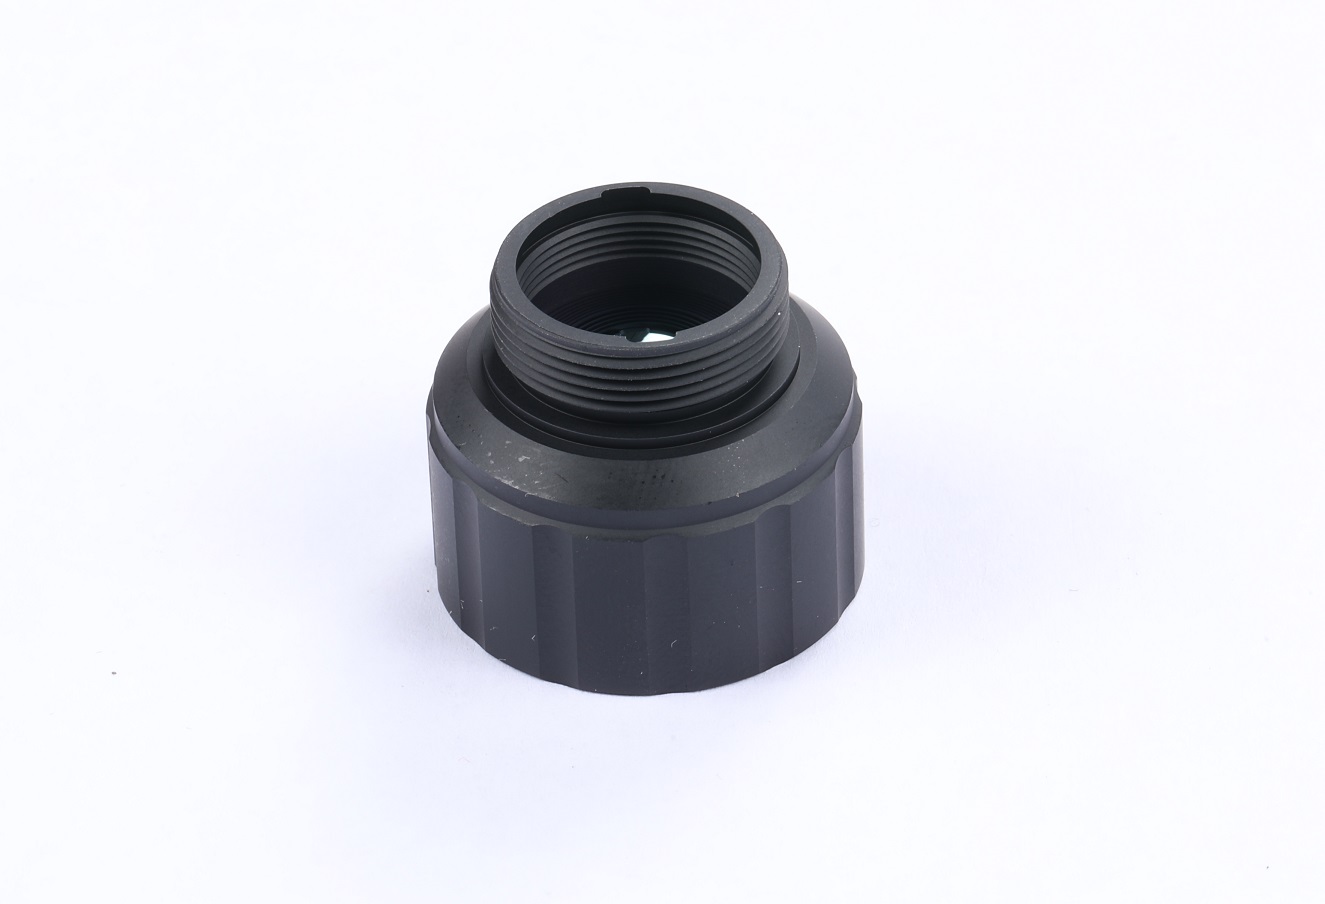
Mount the camera headmost omni - directional Driving Recorder Cameras come with Adhesive Mounts for Convenient installation. Peel off the protective layer couvre le côté adhésif de la montagne. Carefully position the camera head on the previously Cleaned surface, ensuring it is aligned to capture the desired Field of View (en anglais seulement). Press FIRMLY for a few seconds to allow the Adhesive to Bond Security (en anglais seulement).
Wire connectionconnect la tête de la caméra à la source de puissance, utilisée à la sortie 12V dans le véhicule. Ensure that the Wire is Hidden and routed neatly to avoid tangling or obstructing the Driver's View (en anglais seulement). Many Cameras offer the option of Wireless Connectivity or USB Power, qui peut remplacer un processus d'installation différent.
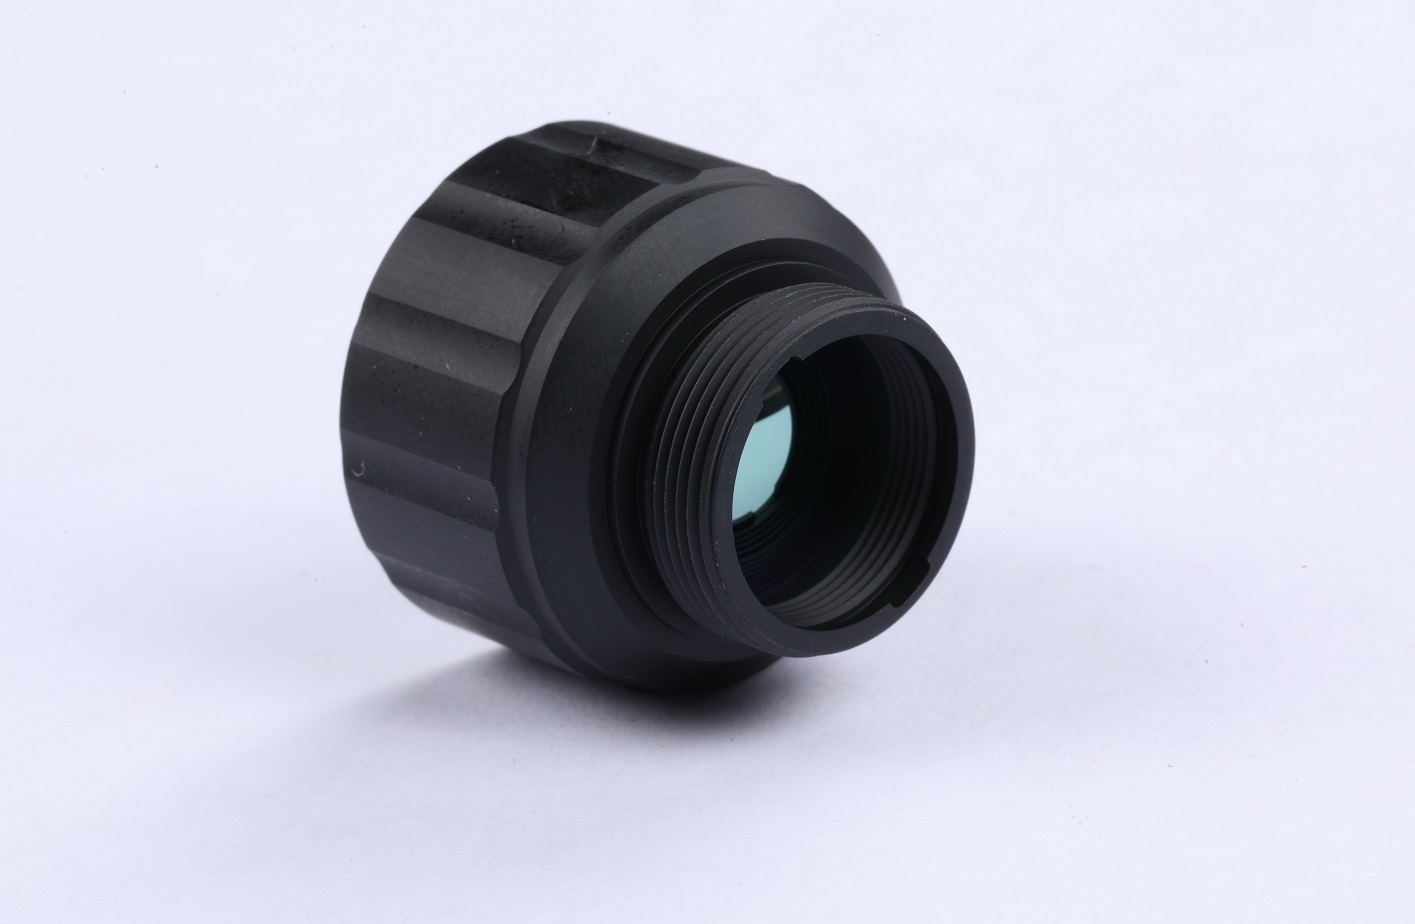
Adjust and testafter Completing the installation, adjust the camera head to the desired Angle to capturer le Vista parfait Test the camera to ensure it is Functioning correct (tester la caméra pour l'entourer est fonctionnel correct). This includes Checking the Recording Quality, the Coverage Area, and any additional features or settings provided by the Camera (en anglais seulement).
By following These five simple steps, you can easily install the Head of the omni - directional Driving Recorder camera, guaranteeing a Comprehensive View and Accurate capture while on the Road (en anglais seulement). Remember to refer to the manufacturer’s Instructions for any specific requirements or if you Encounter any difficulties during the Installation Process (en anglais seulement). Install your camera Head Today and Drive with confidence!
Summarythe Installation of the Head of an omni - directional Driving Recorder camera is a Straightforward process that can be completed by following a few simple Steps (en anglais seulement). Choisir la position parfaite, preparing the surface, Mounting the camera Head, Connecting the wires, and Adjusting and Testing the camera are the essential stages of installation By ensuring proper installation, you can enjoy an Uninterrupted and Clear recording of your Surroundings while driving (en anglais seulement) Drive Safely and confidently with your omni - directional Driving Recorder caméra installée!