English
  German
 Japanese
 Korean
 Vietnamese
 French
 Spanish
 भारत
भारत
Company News

Enhancing your car's safety and capturing every moment on the road has become easier with the installation of car recorders. However, to maximize the functionality and efficiency of your car recorder, adding a rear lens is essential. In this comprehensive guide, we will walk you through the process and benefits of rear lens installation, ensuring you get the most out of your car recorder.
The Importance of Rear Lens for Car Recorders
While front-facing dash cameras are common, adding a rear lens provides a 360-degree view of your vehicle's surroundings. This not only increases your safety but also provides valuable evidence in case of accidents or disputes. The rear lens captures invaluable footage of what's happening behind your car, offering you complete protection on the road.
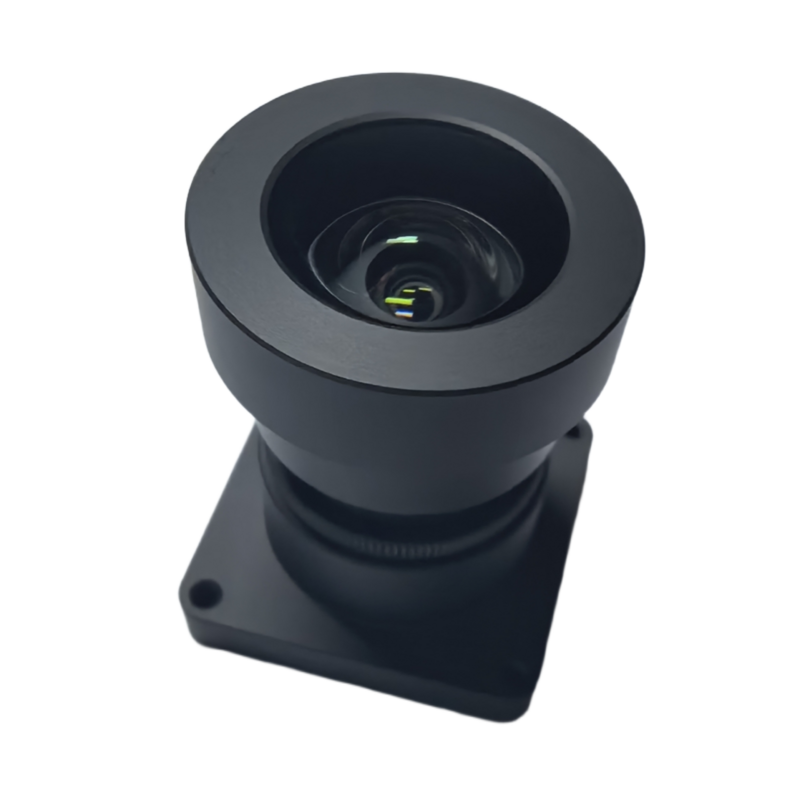
Step 1: Choosing the Right Rear Lens
Before installing a rear lens, it is crucial to select the right one that is compatible with your car recorder model. Check the specifications and recommendations provided by the manufacturer to ensure compatibility and optimal performance. Consider factors such as video quality, field of view, and night vision capabilities when making your selection.
Step 2: Mounting the Rear Lens
Proper positioning and mounting of the rear lens are crucial for optimal performance. Follow these steps to mount your rear lens effectively:
- Identify the suitable spot on your vehicle's rear windshield for mounting the rear lens.
- Clean the area thoroughly to ensure a strong adhesive bond.
- Peel off the protective layer of the adhesive and carefully attach the rear lens to the designated spot, applying firm pressure to secure it.
- Ensure that the lens is properly aligned and positioned to capture the desired field of view.
It is recommended to consult the user manual or seek professional assistance for a seamless installation.
Step 3: Connecting the Rear Lens to the Car Recorder
Once the rear lens is securely mounted, the next step is to establish a connection between the rear lens and the car recorder:
- Identify the designated port on your car recorder for connecting the rear lens.
- Carefully insert the connector of the rear lens into the port, ensuring a tight and secure fit.
- Double-check the connection to ensure proper functionality.
If you encounter any difficulties during this process, refer to the user manual or seek professional assistance to prevent any damage to the car recorder or rear lens.
Conclusion
The installation of a rear lens for your car recorder significantly enhances your vehicle's safety and provides crucial evidence in case of accidents. By following the step-by-step guide provided above, you can ensure a successful rear lens installation, capturing a complete view of your car's surroundings. Drive with peace of mind, knowing that your car recorder equipped with a rear lens has your back.