English
  German
 Japanese
 Korean
 Vietnamese
 French
 Spanish
 भारत
भारत
Industrial News

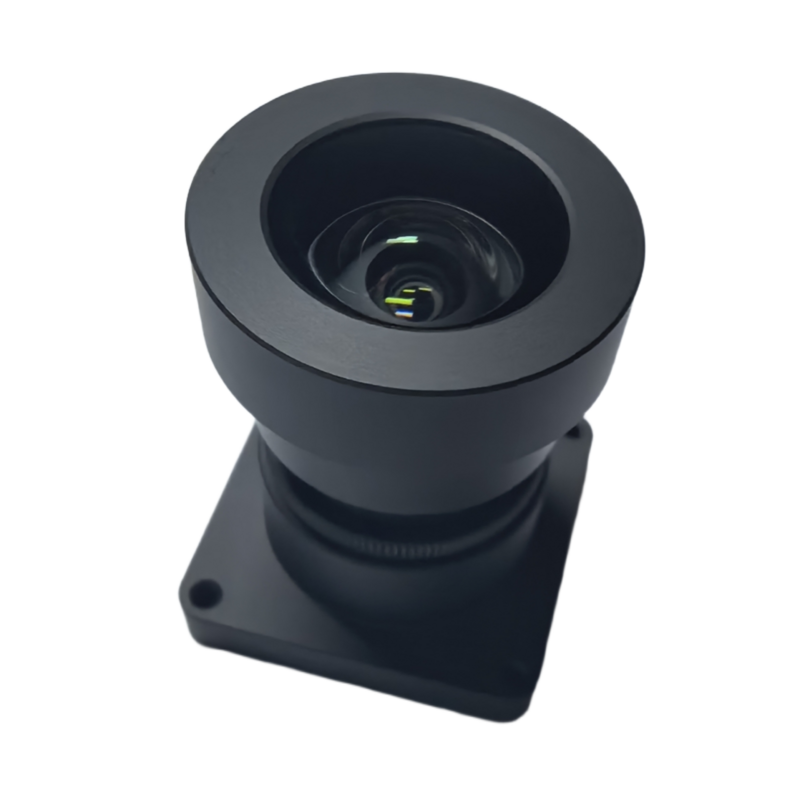
An essential part of car security systems, a car recorder lens captures crucial footage to ensure vehicle safety and monitor any potential incidents. There may be times when you need to remove or replace the security lens on your car recorder. This guide will provide you with step-by-step instructions on how to safely remove the lens while avoiding any damage to the device. Read on to learn more!
The Importance of Proper Lens Removal
Before we dive into the process, it is crucial to understand the significance of properly removing a security lens from a car recorder. A faulty removal technique can damage the lens, affecting its performance and compromising the overall effectiveness of your car security system. By following the correct procedure, you can ensure a smooth replacement process and maintain the functionality of your car recorder.
Step 1: Gather the Necessary Tools
Before starting the lens removal process, make sure you have all the required tools at hand:
- A small screwdriver set
- Tweezers
- Cleaning solution and a lint-free cloth
Step 2: Power Off and Disconnect the Car Recorder
Prior to removing the lens, turn off your car and disconnect the car recorder from any power sources. This precautionary measure ensures your safety and prevents any potential damage to the device.
Step 3: Open the Car Recorder Casing
Using the small screwdriver, gently remove the screws from the casing covering the lens. Take your time and ensure not to drop any screws or damage the surrounding parts. Carefully set aside the screws in a safe place to avoid misplacement.
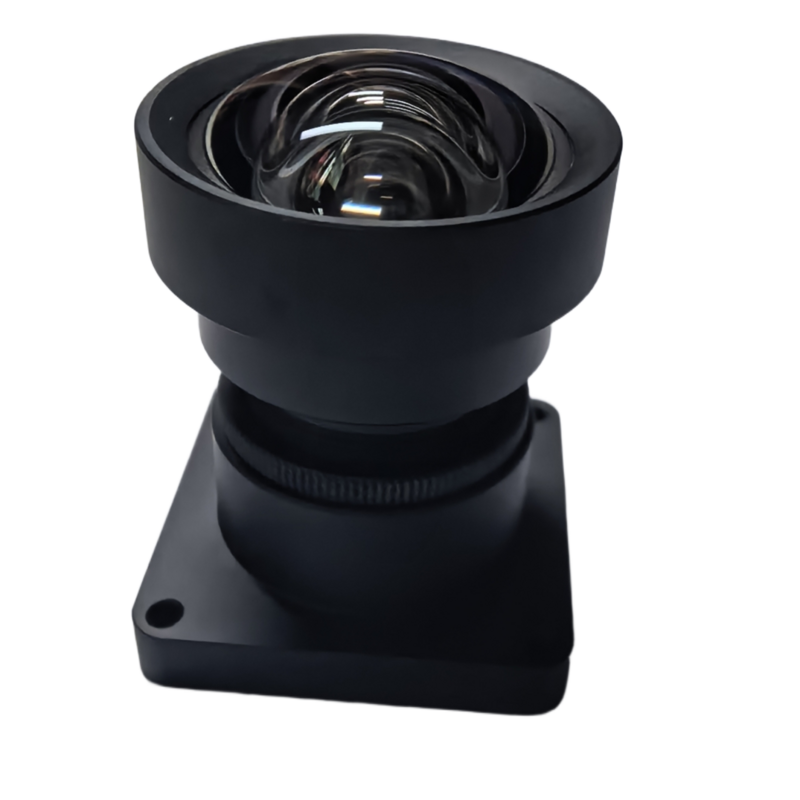
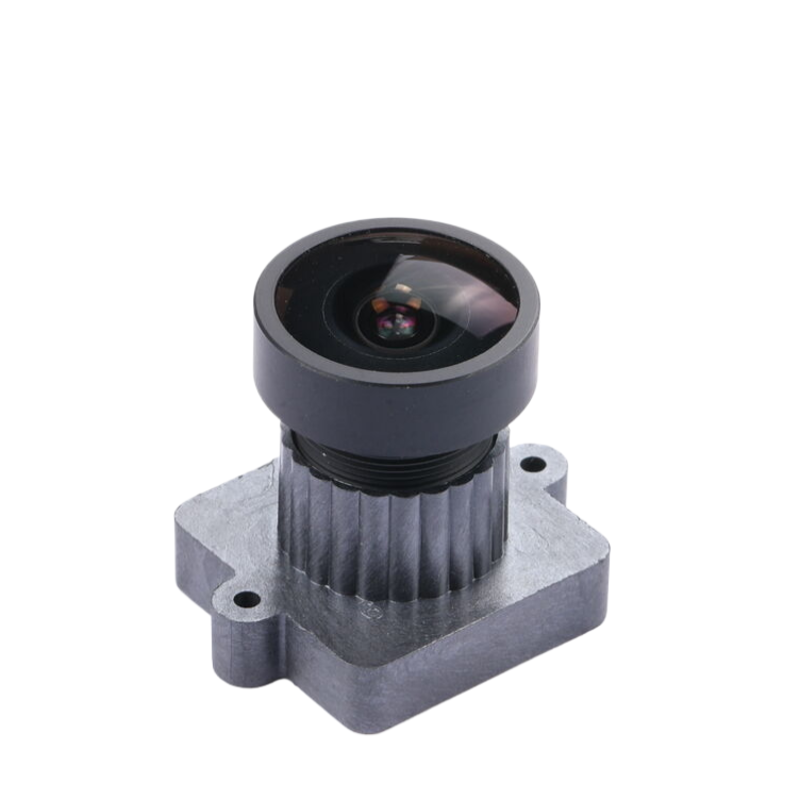
Step 4: Remove the Security Lens
Once the casing is open, you can now access the lens. Using the tweezers, carefully grip the lens and gently pull it out of its slot. Avoid using excessive force, as this may cause damage to the lens or the car recorder itself.
Step 5: Clean the Lens and Slot
Before installing a new lens or replacing the existing one, it is vital to clean the lens and its slot. Using a lint-free cloth and a cleaning solution specifically designed for lenses, gently wipe down the lens surface and the slot to remove any dirt, dust, or smudges. Pay extra attention to avoid scratching the lens or leaving any residue.
Step 6: Install the New Lens (if applicable)
If you are replacing the lens with a new one, carefully align the new lens with the slot and gently push it in. Ensure it is securely in place, and no gaps are visible. If you were simply cleaning the lens, skip this step and proceed to the next one.
Step 7: Secure the Car Recorder Casing
Carefully reattach the casing to the car recorder, ensuring all screws are properly inserted and tightened. Be cautious not to over-tighten the screws, as this may damage the casing or the device. Once the casing is secure, your lens removal process is complete!
Conclusion
It is essential to follow a systematic approach when removing the security lens from a car recorder. By gathering the necessary tools, powering off the device before starting, and being gentle throughout the process, you can safely remove the lens and, if needed, replace it without causing any damage. Remember to clean the lens and its slot properly and securely reattach the casing to ensure optimal performance of your car security system.