Industrial News
Photography enthusiasts are constantly on the lookout for innovative ways to expand their creative possibilities, and one exciting method gaining popularity is using a reverse lens for macro photography. By simply reversing your camera lens, you can achieve ultra-high magnification and capture intricate details of small subjects, from insects to textures, that are often impossible to view with the naked eye. In this article, we will dive into the working principles of the reverse lens technique, provide tips on how to select the right reverse lens, explore how to modify standard lenses, and share some essential post-processing tips to enhance your reverse lens macro photos.
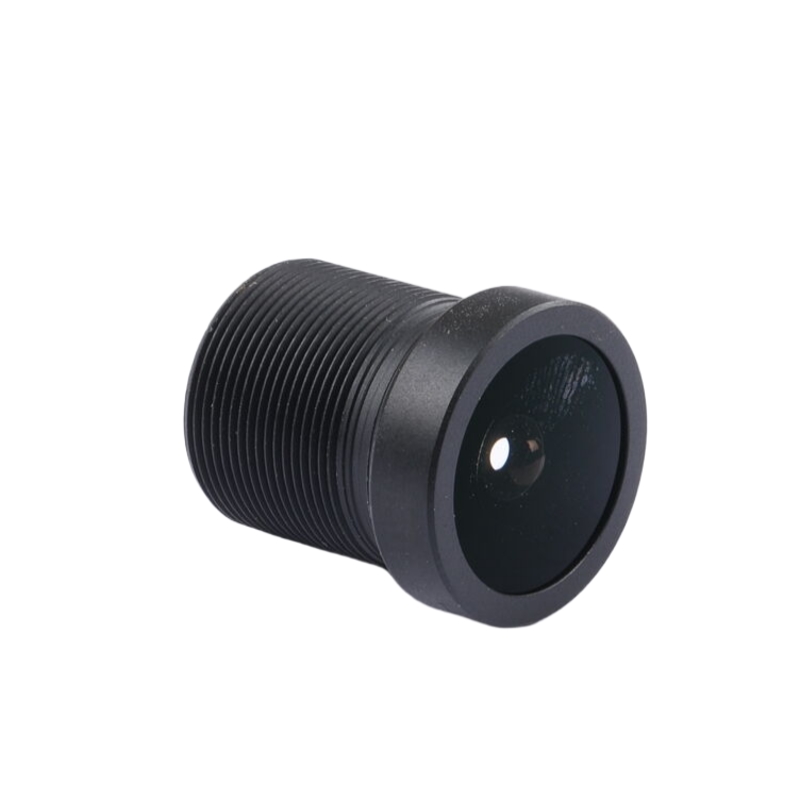
How Does the Reverse Lens Work?
The reverse lens technique essentially flips the lens backward onto your camera body, turning it into a macro lens capable of ultra-high magnification. This setup exploits the optical principles of lens inversion, providing incredible close-up detail. Here's how it works:
Optical Principle: Normally, a camera lens focuses on distant objects by adjusting its focal length. However, when the lens is reversed, its focal length shortens dramatically. This results in an exceptionally shallow depth of field, and the image is magnified. The distance between the lens and the subject becomes very small, which is ideal for macro photography, allowing you to capture the fine details of tiny objects.
Magnification: The amount of magnification depends on the focal length of the lens and how close it is to the subject. Longer focal lengths, when reversed, can create even greater magnification. For example, a 50mm lens reversed on a DSLR camera can provide impressive magnification, but using a 200mm lens in reverse will give even more substantial results.
Image Characteristics: While the reversed lens provides ultra-close focus, it also brings a few challenges. The depth of field is very shallow, meaning that only a small portion of the subject will be in focus at any given time. Additionally, light can become harder to control, and the field of view can be very narrow. However, these challenges can be part of the charm of reverse lens photography, allowing for artistic, dream-like images with fine details.
Reverse Lens Buying Guide
If you're considering the reverse lens method for macro photography, the first step is selecting the right lens. Here's what you should keep in mind when choosing a lens for this purpose:
Lens Focal Length:
Shorter Focal Lengths (50mm to 85mm): These lenses are great for beginners as they offer a manageable level of magnification without becoming too difficult to handle. A 50mm lens is a common choice for macro photography when reversed, providing a good balance of magnification and usability.
Longer Focal Lengths (100mm to 200mm): These lenses provide higher magnification and are more suitable for capturing subjects from a greater distance. However, they can be heavier and more challenging to handle when reversed, requiring careful focus control.
Lens Aperture:
The aperture of the lens plays a significant role in the amount of light entering the camera. Lenses with wide apertures (f/1.8 to f/2.8) allow for more light and can help in achieving sharper images with better subject isolation. However, be mindful that wide apertures will result in even shallower depth of field when reversed.
Lens Build:
Look for lenses with sturdy construction, as the reverse method involves mounting the lens without its usual support. Lenses with metal mounts tend to be more durable and provide a better fit when reversed.
Lens Compatibility:
Ensure the lens you choose is compatible with your camera body. Some lenses might require an adapter to fit onto your camera when reversed, especially when using lenses from different brands or older manual focus lenses.
How to Modify Your Lens into a Reverse Lens
Turning a regular lens into a reverse lens for macro photography is simple and requires minimal gear. Here’s how you can do it:
Obtain a Reverse Lens Adapter:
To attach your lens in reverse, you’ll need a reverse lens adapter. This is a simple ring that attaches to your camera body on one side and connects to the reversed lens on the other. The adapter ensures a secure fit while allowing the lens to be mounted backward. You can find adapters designed for various lens mounts, such as Canon, Nikon, and Sony.
Mount the Lens:
Attach the lens to the reverse lens adapter and then mount the adapter onto your camera. Once mounted, the lens will be in reverse, and you’ll be able to focus on subjects at extremely close distances.
Manual Focus:
After reversing the lens, autofocus is typically disabled. You’ll need to manually adjust the focus by moving the camera or lens closer or further away from the subject. This can take some practice, especially when working with very shallow depths of field.
Use a Tripod or Stable Surface:
Since reverse lens macro photography involves extreme magnification, even the slightest camera shake can blur the image. Use a tripod to keep the camera steady while you focus and shoot.
Post-Processing Tips for Reverse Lens Macro Photography
The unique nature of reverse lens photography often leads to fascinating images, but it also requires some careful post-processing to bring out the best in your photos. Here are a few post-processing tips to enhance your reverse lens shots:
Sharpening:
Since the depth of field is shallow, many parts of the image may be out of focus. Use selective sharpening tools to enhance the sharp areas of the image, such as the subject's key features or fine textures, while keeping the rest of the image soft for artistic effect.
Exposure Adjustments:
Reverse lens photography can sometimes result in underexposed or overexposed images due to the lens’ aperture settings and the small working distance. Use exposure adjustments to brighten shadows or tone down highlights as needed.
Focus Stacking:
With such a narrow depth of field, focus stacking can be a powerful technique. Take multiple shots at different focus distances and then combine them in post-processing software like Adobe Photoshop to create an image with a greater depth of field.
Contrast and Saturation:
Boosting the contrast and saturation in post-processing can make the tiny details of your macro shots pop. You can adjust contrast to emphasize textures and colors, which are crucial in macro photography.
Conclusion
Reverse lens photography opens up a whole new world of creative possibilities for macro photographers. By simply reversing a lens, you can achieve magnifications that would typically require expensive macro lenses. Understanding how reverse lenses work, selecting the right lens, modifying your setup, and utilizing post-processing techniques will help you unlock the full potential of this cost-effective and exciting approach to macro photography. Whether you're capturing the delicate details of nature or intricate textures, reverse lens photography can offer a fresh and rewarding perspective on the world around you.
 English
  German
 Japanese
 Korean
 Vietnamese
 French
 Spanish
 भारत
भारत
